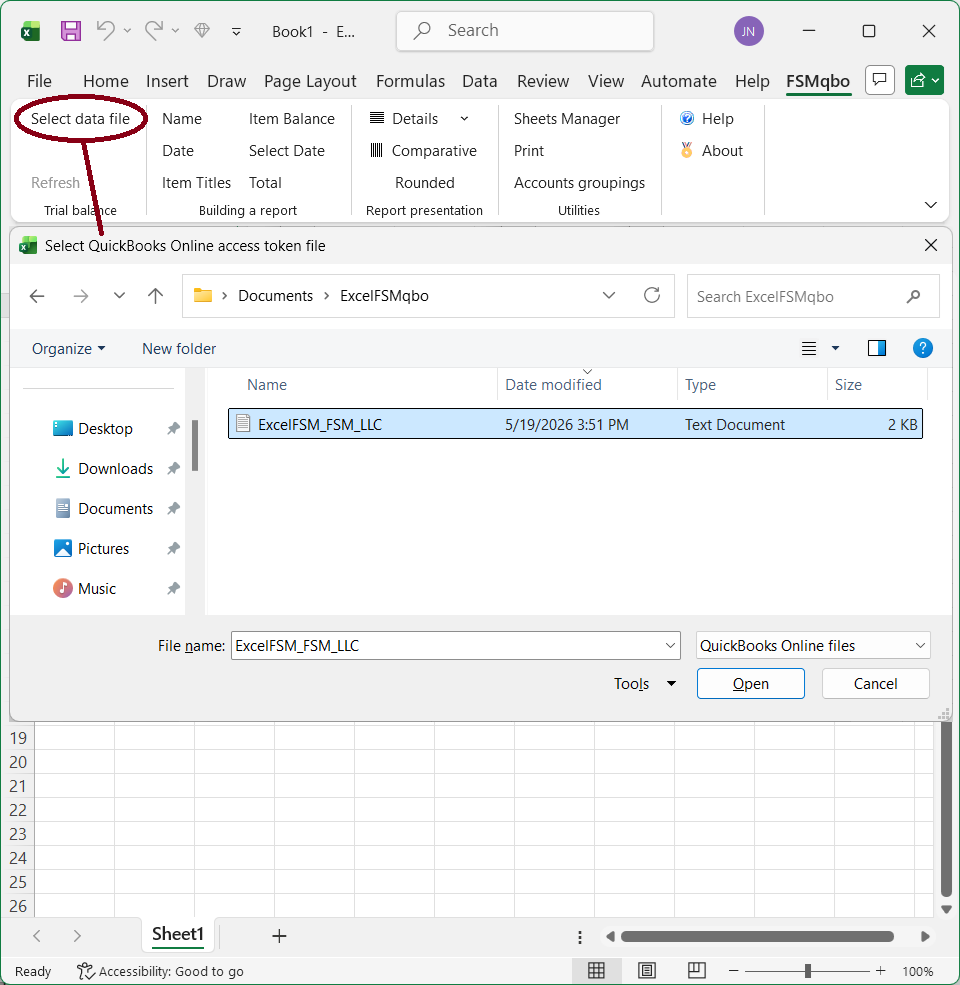
Select the accounting data file to associate (link) with the ExcelFSM workbook.
Clicking Select data file opens the standard Windows dialog, with the type of file (bottom right) set to QuickBooks Online files:
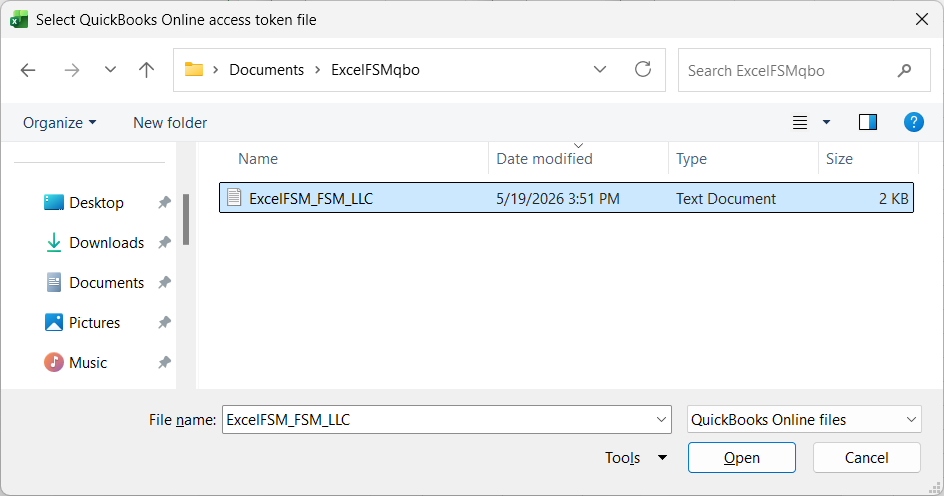
The file to select is the “ExcelFSM QuickBooks Online” company file containing the access token of your QuickBooks Online (QBO) company. This file allows ExcelFSM to read trial balance data from your QBO company.
To create this file, you will use the ExcelFSM QuickBooks Online Utility app. Before the file can be created, the Utility app must be connected to your QBO company.
(The following instructions are available with screen shots in this document https://excel-fsm.com/CreatingExcelFSMqboTokenFile.html)
Step 1 — Connect the Utility App to QuickBooks Online
Open a browser (Microsoft Edge, Chrome, or Firefox) and click https://excel-fsm.com/FSMQBO/
If you are not already signed in to QBO, you will be prompted to sign in.
After signing in, you will be asked to select the QBO company you want to connect.
Once you select the company, confirm the connection.
After the connection is completed, you will receive a confirmation email from Intuit.
Step 2 — Create the ExcelFSM QuickBooks Online Company File
In your QuickBooks Online (QBO) company, click the My Integrations icon, then click Manage integrations.
Under ExcelFSM, click Launch. (With QuickBooks Online Accountant, it can be launched from Client apps - by the Admin)
Alternative method: You can also open the Utility app directly by clicking https://excel-fsm.com/FSMQBO/
Click the Create File button.

Save the file. Important — Do Not Use OneDrive
Do NOT save the “ExcelFSM QuickBooks Online” company file in a OneDrive folder. Saving it locally prevents sync‑related issues.
After creating the file, select it within ExcelFSM. This allows ExcelFSM to access and read the trial balance data from your QuickBooks Online company.
ExcelFSM shows the following dialog to allow you to specify additional information about the trial balance data:
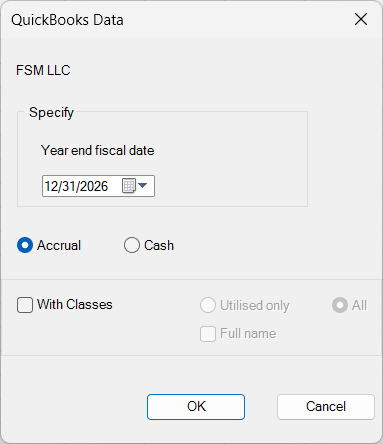
Year end fiscal date - The date will be used, along with the enterprise name, to identify the Excel workbook. The trial balance data of the specified fiscal year will be read. You will be able to select any date or date range within that fiscal year for your customized financial reports.
Accrual or Cash - Select accrual basis or cash basis for the trial balance data.
With Classes - Check if you want the "classes" to be part of the trial balance. (Note that for QuickBooks Online, only the classes of the income and expense accounts are processed).
The classes will appear in the Chart of Accounts and identified by " | <Class name>:<Subclass name>" inserted at the end of the account's title.
Utilised only - Select that option if you do not want the classes of an account not utilised to be part of the trial balance.
Full name - Check that option is you want the full name of the subclasses.
Results
Click OK. The following actions occur:
•The trial balance data is imported and organized
•A new FSM workbook is created. It's name is
FSM<Enterprise><Year end fiscal date><A for Accrual or C for Cash><C if classes><U for Utilised only or A for All><F if Fullname>.
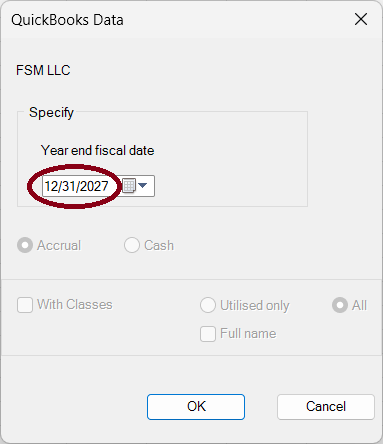
Using an existing ExcelFSM workbook to create one containing the financial reports for a different fiscal year.
Open the workbook
Click Select data file (since the workbook is already associated (linked) to a data file, the standard Windows dialog will not open)
Specify the year end fiscal date (in this case, this is the only parameter that can be modified)
Click OK. The following actions occur:
•The trial balance data is imported and organized
•A new FSM workbook is created.
Modify all dates using the Select Date button
Your original workbook will not be altered.
Note: Since the name of the workbook contains the Enterprise name and year end fiscal date, the workbooks are easy to identify.
Access token revoked
If the access token is ever revoked, reopen the ExcelFSM QuickBooks Online Utility and create a new “ExcelFSM QuickBooks Online” company file.
When creating the replacement file, be sure to overwrite the existing one so ExcelFSM can continue accessing it from the same location.
If ExcelFSM cannot access your QBO company data using the “ExcelFSM QuickBooks Online” company file containing the access token, disconnect the ExcelFSM Utility App from QuickBooks Online Company, reconnect, and then create a new “ExcelFSM QuickBooks Online” company file.
Disconnecting the ExcelFSM Utility App from QuickBooks Online Company
(The following instructions are available with screen shots in this document https://excel-fsm.com/DisconnectingFSMQBOutilityApp.html)
In your QuickBooks Online (QBO) company, click the My Integrations icon, then click Manage integrations.
Click the Disconnect button.
Alternative method: You can also disconnect the integration directly from the Utility App.
When you disconnect, the following confirmation is prompted, and you will receive a confirmation email from Intuit.
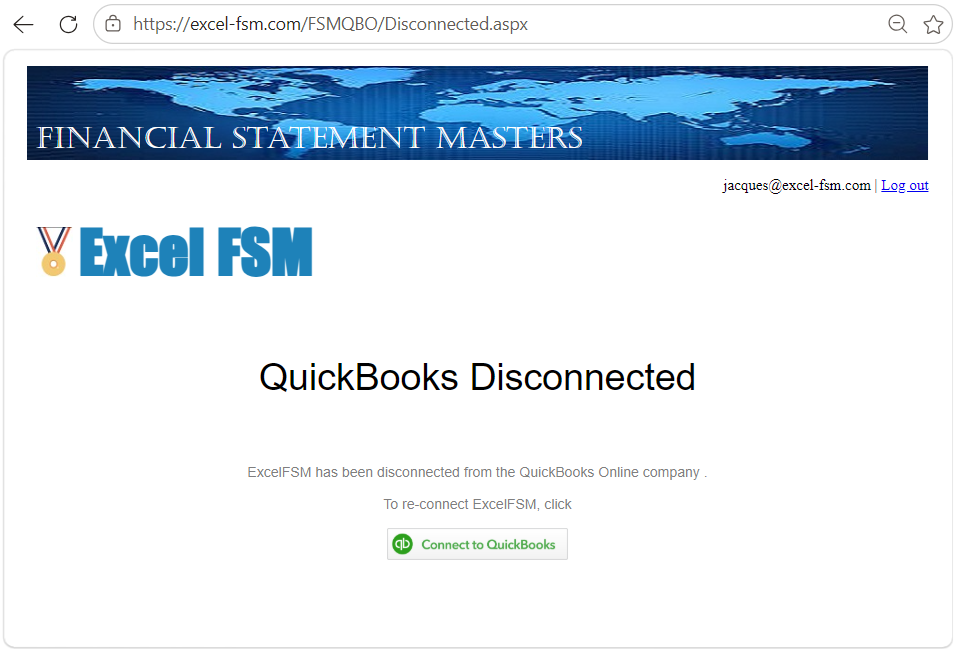
To reconnect, click Connect to QuickBooks to link the ExcelFSM QuickBooks Online Utility App back to your QBO company.
Alternative method: Repeat Step 1.
Once reconnected, create the ExcelFSM QuickBooks Online Company File as described in Step 2.