Select the bank account (double-click it or select it, with a single click or by moving the cursor with the display keys, then press Enter key).
The following dialog is displayed, listing preset banks accounts.
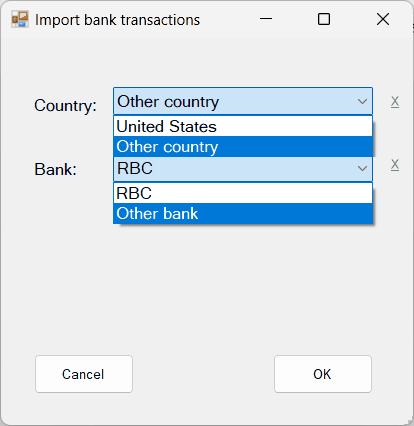
This allows you to select preset bank accounts stored in the file banks.dat saved in the same folder as the program.
To remove a country from the drop down list, select the country and click the X besides the field.
To remove a bank from the drop down list, select the bank and click the X besides the field.
If the bank account from which you downloaded the bank transactions is not within the list of preset bank accounts, you will be able to add it with the 'Add bank' button of the next form.
Until then, select 'Other country' or 'Other bank' and click OK.
Select the file containing the transactions data to import.
NOTE: the csv file must not be opened in another application.
The Import transactions dialog is displayed, showing the contents of the transactions file in a window.
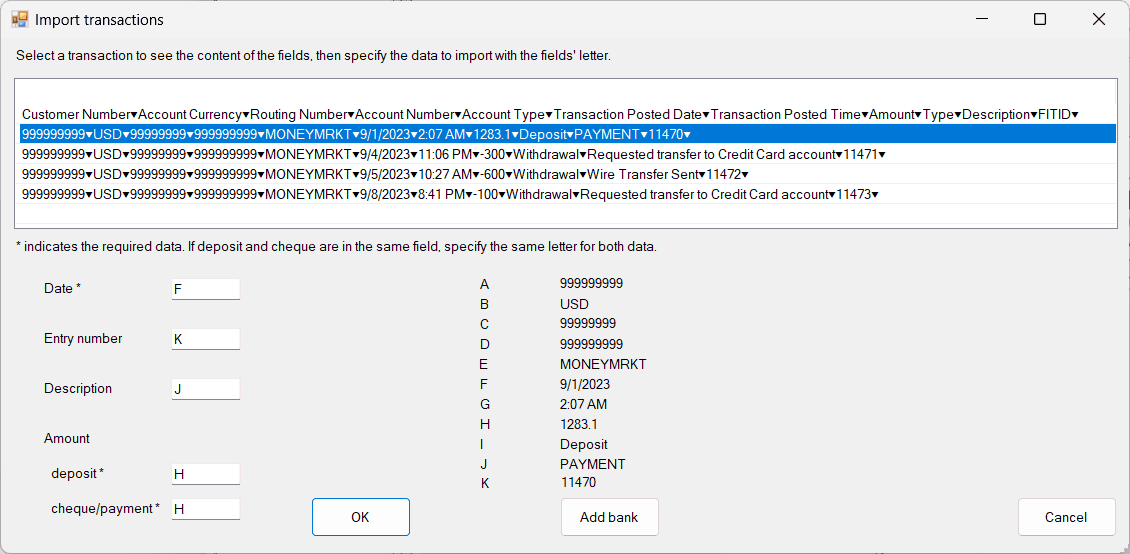
Select a transaction line from the list in the window. The fields (columns) are identified by a letter and the content of each field (column) is displayed.
Specify the letter for the fields (a transaction must include at least a date and an amount):
| Date |
| Entry number |
| Description |
| deposit amount |
| cheque/payment amount |
| Note: during the process you can select a different transaction line to determine the deposit and cheque/payment field (column) letter. If deposit and cheque/payment are in the same field(column), specify the same letter. |
Clicking 'Add bank', the following form is displayed

Type the country.
Type the bank.
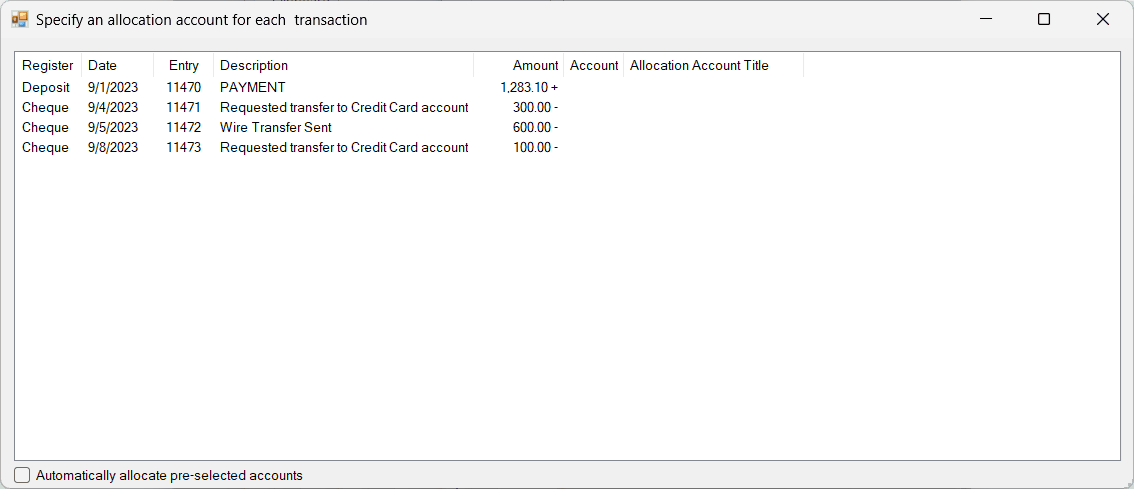
Clicking OK, you are asked to specify an allocation account for each transaction.
Clicking the Account field, the following dialog is displayed.
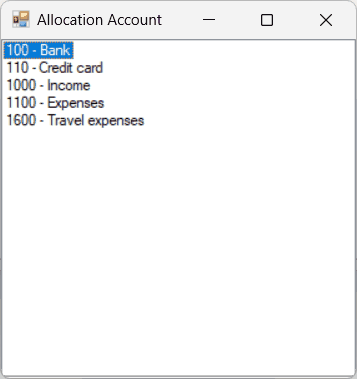
Select the allocation account from the list displayed (double-click it or select it, with a single click or by moving the cursor with the
display keys, then press Enter key)
or
type the account number and press, Enter key to move to the next transaction or click the the Account field of the next transaction.
Note: For transactions with the same description as the description of a recorded transaction, the Allocation Account Title column is prefilled with the account number and account title, and the account is pre-selected in the list of accounts, so you can press Enter key to select the allocation account and move to the next transaction.
Automatically allocate pre-selected accounts
The pre-selected accounts can be automatically allocate to the transactions by checking the checkbox at the bottom left. Unchecking the checkbox will undo the allocation.
Closing the form
The bank transactions are automatically organized and recorded as Deposit or Cheque.
If there are transactions without an allocation account, the following message is prompted
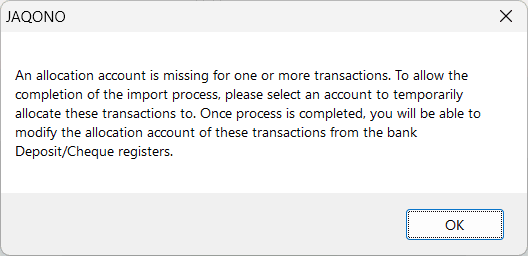
Clicking OK, you can select an account from the list of accounts.
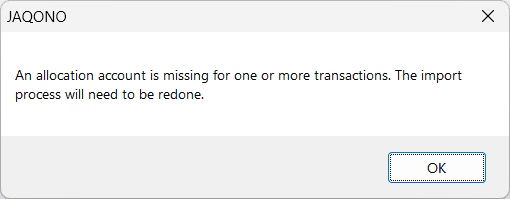
If no account is selected, the following message is prompted
Note: If you prefer to add allocation accounts directly in your transactions file, you can do so by using the Bank Mapping feature and setting it up like with bank accounts that permit category modifications.