Click the 'Insert' tag and click the 'Text Box' button

Move the mouse where you want to insert the text box, left-click and drag the mouse to open the text box.
Click inside the text box, right click and click Format Shape
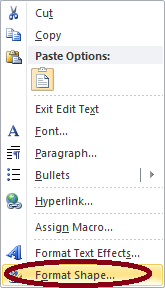
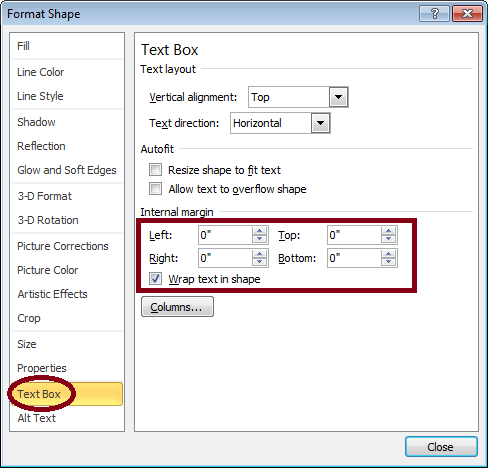
Click Text Box, set the four internal margins to 0, and verify 'Wrap text in shape' box is checked
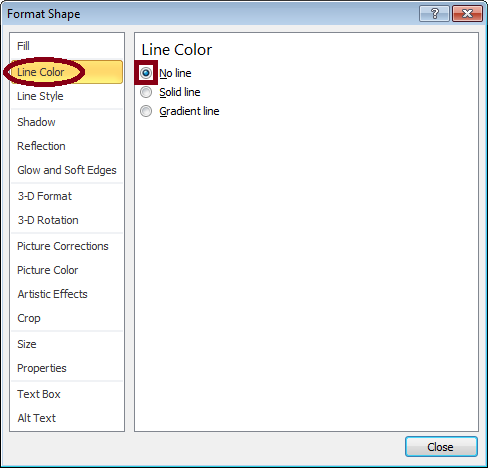
Click Line Color and select No line
Type the text in the text box
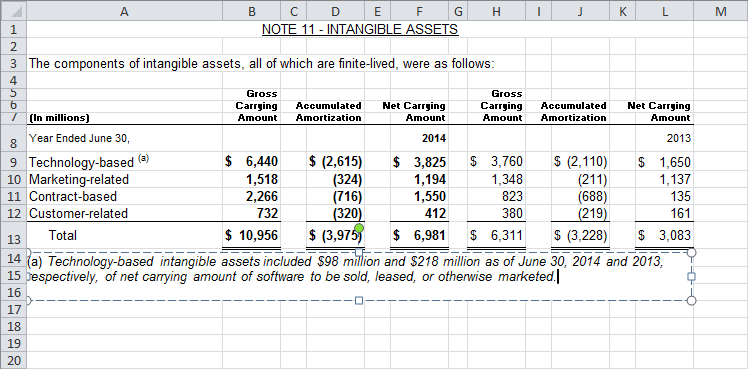
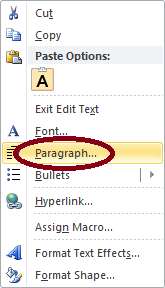
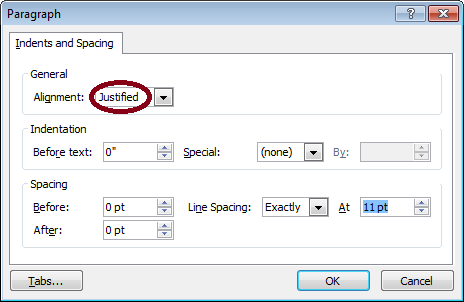
Right click and click Paragraph
Set Alignment to Justified; Indentation: Before text, Special to 'Hanging', By.

Click in front of the first word "Technology"

Press 'Tab' key on your keyboard

Check the spelling of the text.

Note: to present the "(a)" like in the item "Technology-based" above, right-click and choose 'Format Cells', check the box next to "Superscript".

Notes And Reports
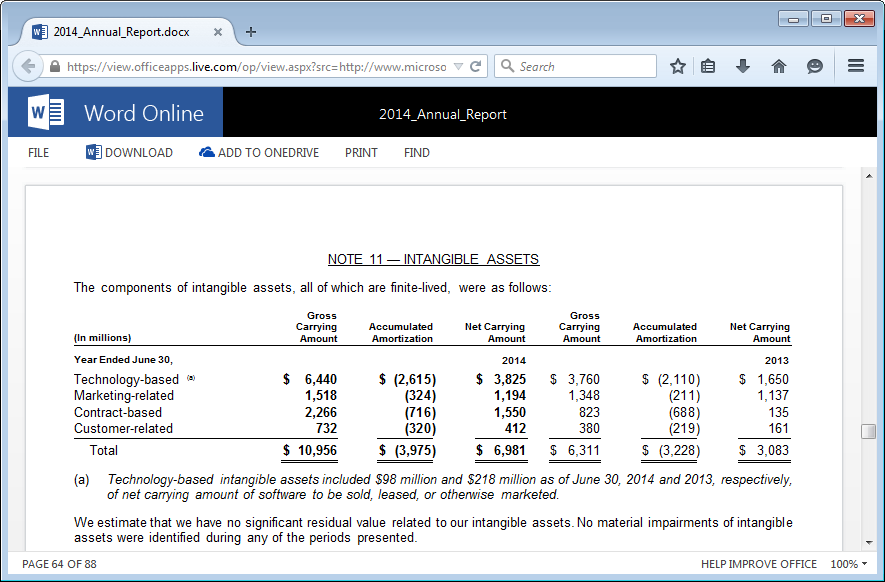
 Click to see Microsoft 2014 Annual Report
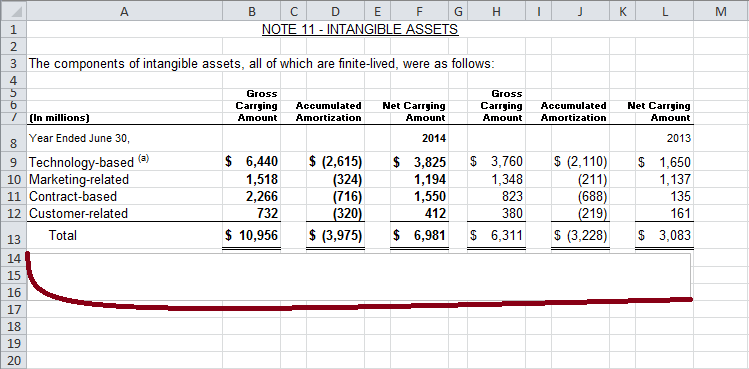
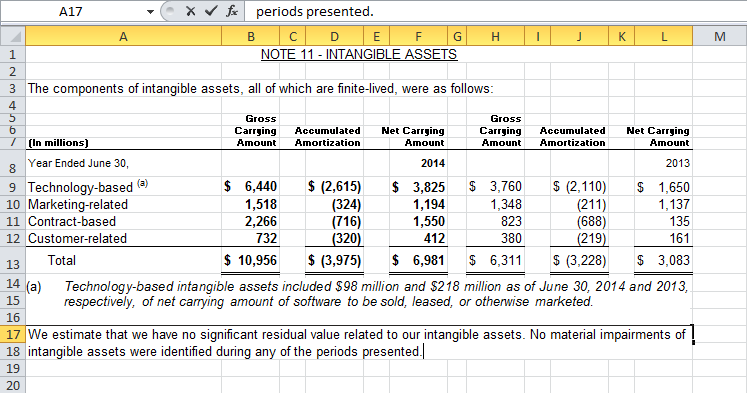
Here is Note 11 from the 2014 annual report (page 64 of 88)
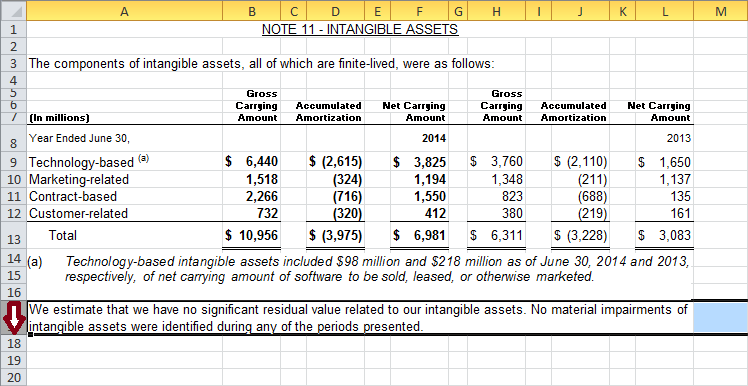
Here is the same note built with ExcelFSM and saved in a pdf file with FSM Sheets Manager.
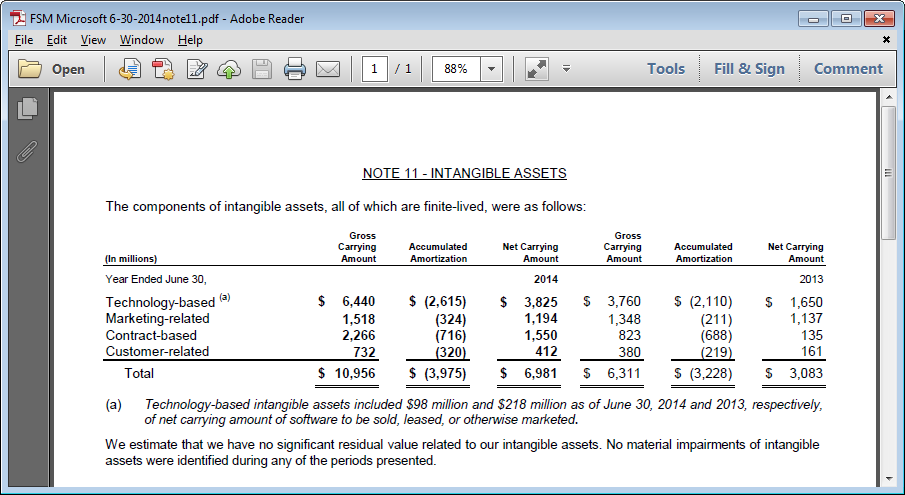
ExcelFSM

(for more details on how to build such note, look at How to prepare a multiple columns report)
When comes the time to add text in the notes, you can either insert a Text Box, as for the text "(a)..." in Note 11 above,
or directly type the text in a cell, as for the text "We estimate ..." in Note 11 above.
In both ways, the text can be justified (forcing all lines except the last line to fill the entire column width). However, the Text Box offers special indentation which can be useful sometimes, as for the text "(a)..." in Note 11 above, and while you can't control the line spacing within a cell (determined by the font size), the Text Box allows you to change the line spacing.
Using Text Box for notes
Using cells for notes
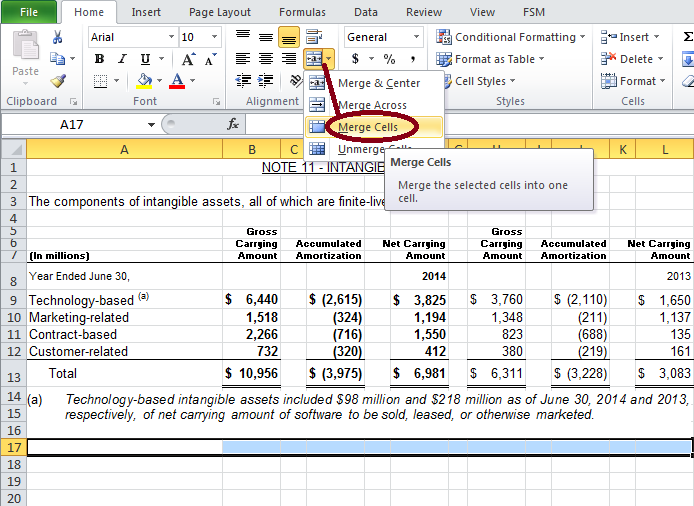
Merge Cells
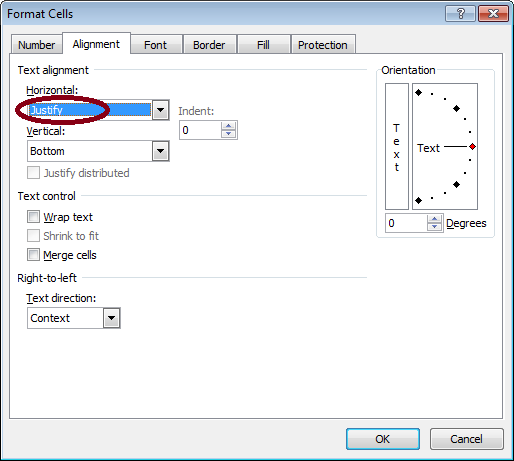
Set Format Cells Horizontal Text alignment to 'Justify'. (The Wrap Text button highlight automatically)
Type the text in the merged cells.
Set row height
Note: you can also set the cell contents box height and edit the text from there.

Check the spelling of the text.
Reports
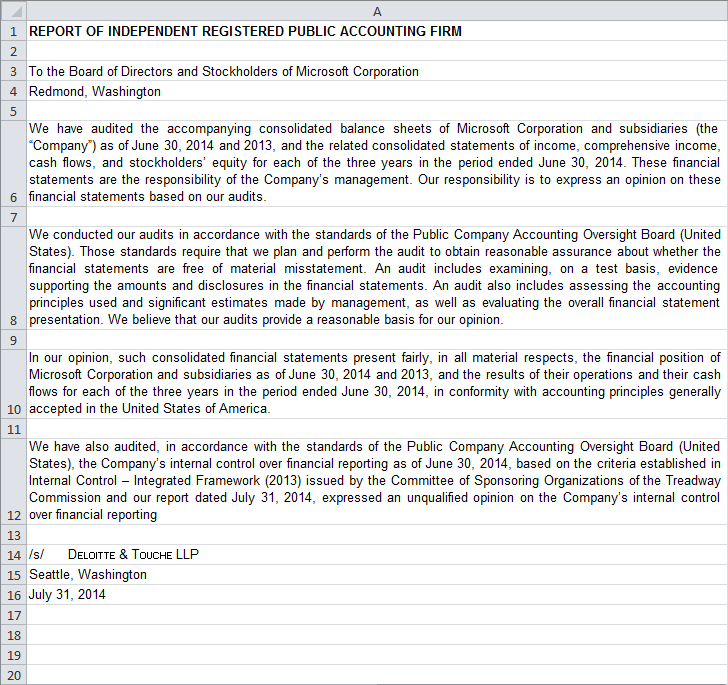
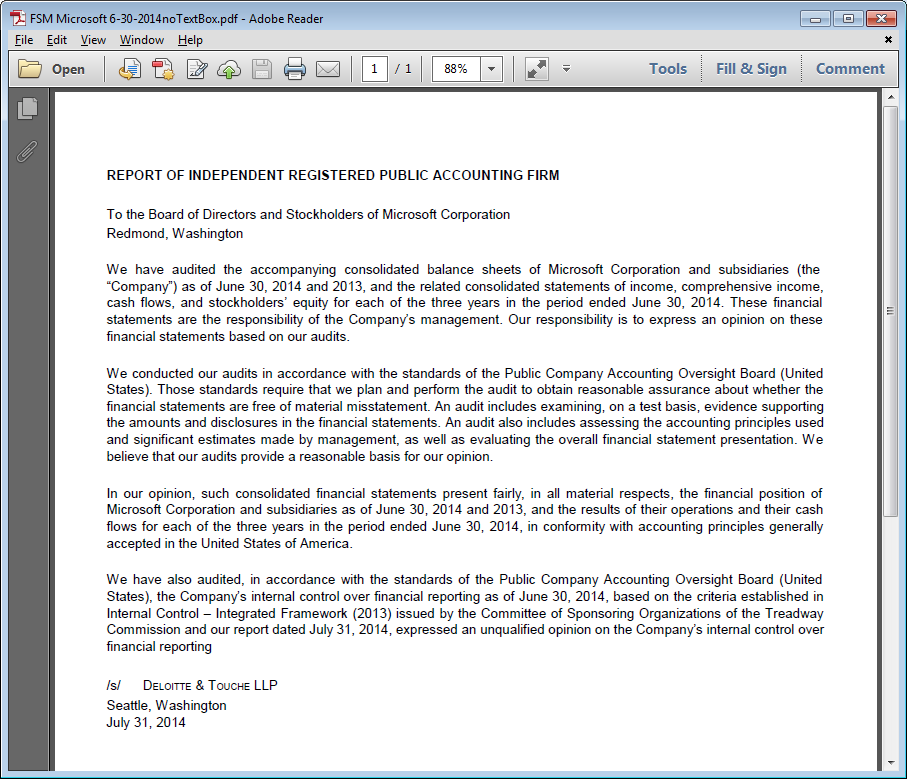
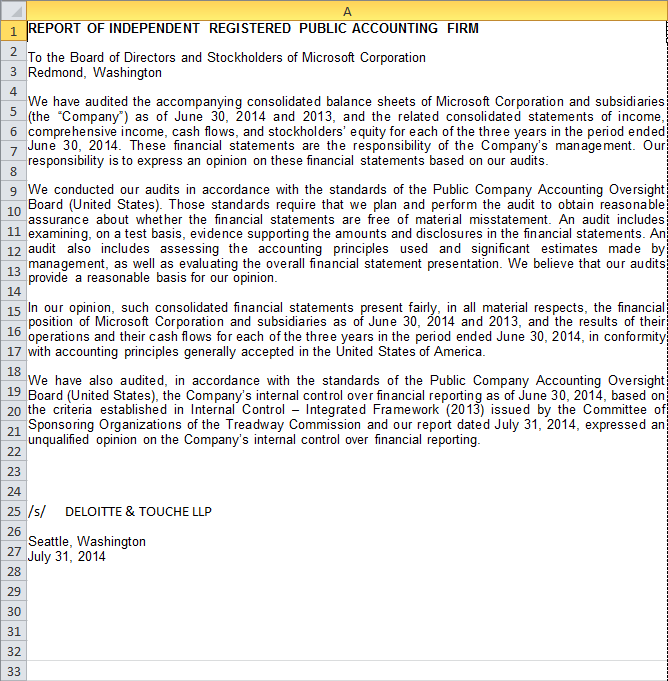
Here is the Auditors Report from the 2014 annual report (page 82 of 88)

Here is the same report from an Excel FSM workbook, saved in a pdf file with FSM Sheets Manager.

When comes the time to type a report, you can use one cell for each paragraph, or use a Text Box for the entire report.
In both ways, the text can be justified (forcing all lines except the last line to fill the entire column width), and the spelling of the text be checked. However, you can't control the line spacing within a cell (determined by the font size), while the Text Box allows you to change the line spacing.
Using cells for the report
Click the 'Page Layout' tab and set the page margins (click the little arrow on the bottom right or click the Margins button and choose Custom Margins).

Set column with according to the page limit.
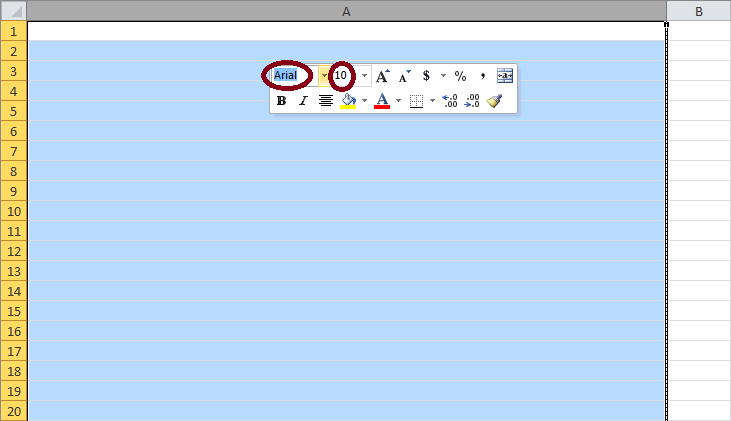
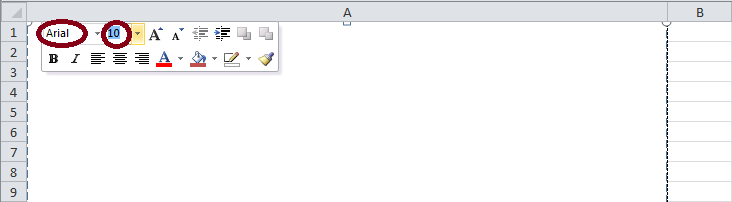
Click letter 'A' to select the column and set the Font and the Font size.
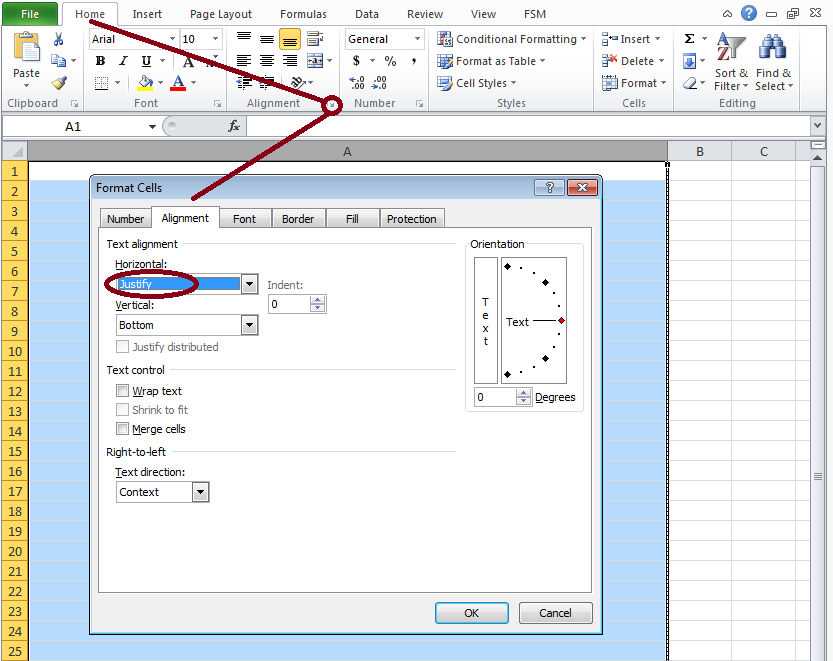
Set Format Cells Horizontal Text alignment to 'Justify'. (The Wrap Text button highlight automatically)
Type the report using one cell per paragraph.

Remark: doing a print preview, you might realize that the text doesn't reach the right margin. Simply adjust the width of column A.
Check the spelling of the text.
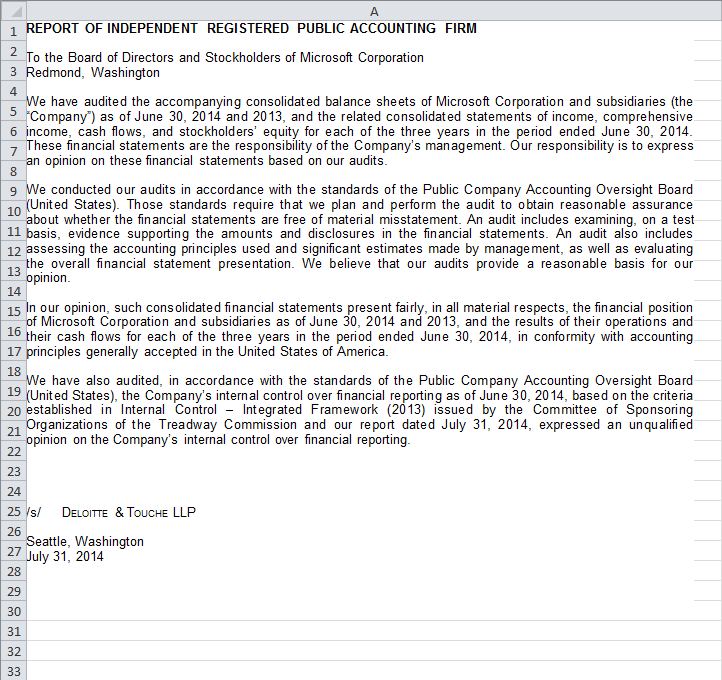
Here is the report saved in a pdf file with FSM Sheets Manager.
Using Text Box for the report
Click the 'Page Layout' tab and set the page margins (click the little arrow on the bottom right or click the Margins button and choose Custom Margins).
Set column with according to the page limit.
Click the 'Insert' tag and click the 'Text Box' button
Move the mouse where you want to insert the text box, left-click and drag the mouse to open the text box.
Click inside the text box, right click and click Format Shape
Click Text Box, set the four internal margins to 0, and verify 'Wrap text in shape' box is checked
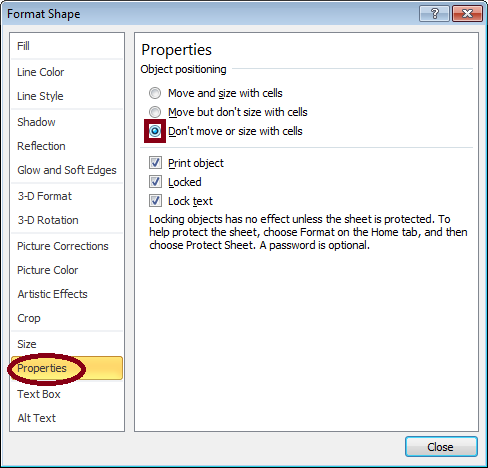
Click Properties and select Don't move or size with cells
Click Line Color and select No line
Right click and click Paragraph
Set Alignment to Justified.
Set Text Box Font and Font Size.
Type the report.
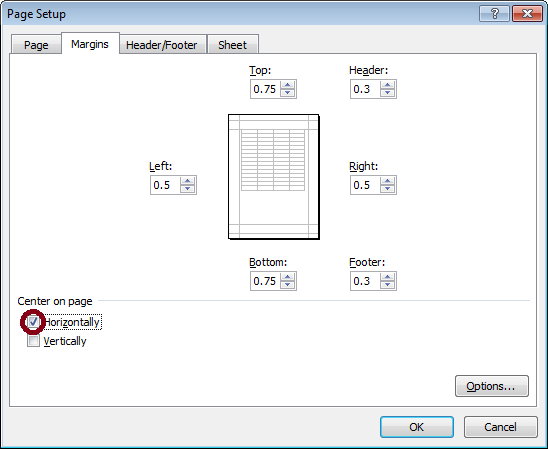
Remark: doing a print preview, you might realize that the text doesn't reach the right margin. You can adjust the width of column A, adjust the width of Text Box, and you can center the Text Box on page by checking the 'Horizontally' box in the Page Setup.
Check the spelling of the text.
Here is the report saved in a pdf file with FSM Sheets Manager.