Installing ExcelFSM with QuickBooks Desktop feature
The ‘Download’ button allows you to install the current version of ExcelFSM (the full version, not just a demo).
The software will run for 30 days without a license. After that free trial period,
the purchase of a license will allow you to continue using ExcelFSM.
System requirements: Microsoft Excel 2007 or later
A computer running Microsoft Windows XP or later
.NET 2.0
To access QuickBooks Desktop company files with Microsoft Excel 64-bit*, .NET 4.8 is required.
Note: QuickBooks 2021 and older versions are 32-bit applications, so a 32-bit ODBC driver is required to communicate with it.
In such case, the optional QuickBooks Desktop feature to select is the QBD for Excel 32-bit, and excel must be the 32-bit version.
(*) -----------------------------------------------------------------------------------------------------------------------------------------------------------------------------------------
To check the version of Microsoft Excel 2013 or later: click File > Account > About Excel

To check the version of Microsoft Excel 2010: click File > Help

===================================================================================================================
To see how to uninstall a previous version of ExcelFSM, click here.
Close Excel (if Excel is running, you will have to close and restart to activate the FSM tag).
Check the 'QuickBooks Desktop' checkbox

Click the
 button
Fill the form
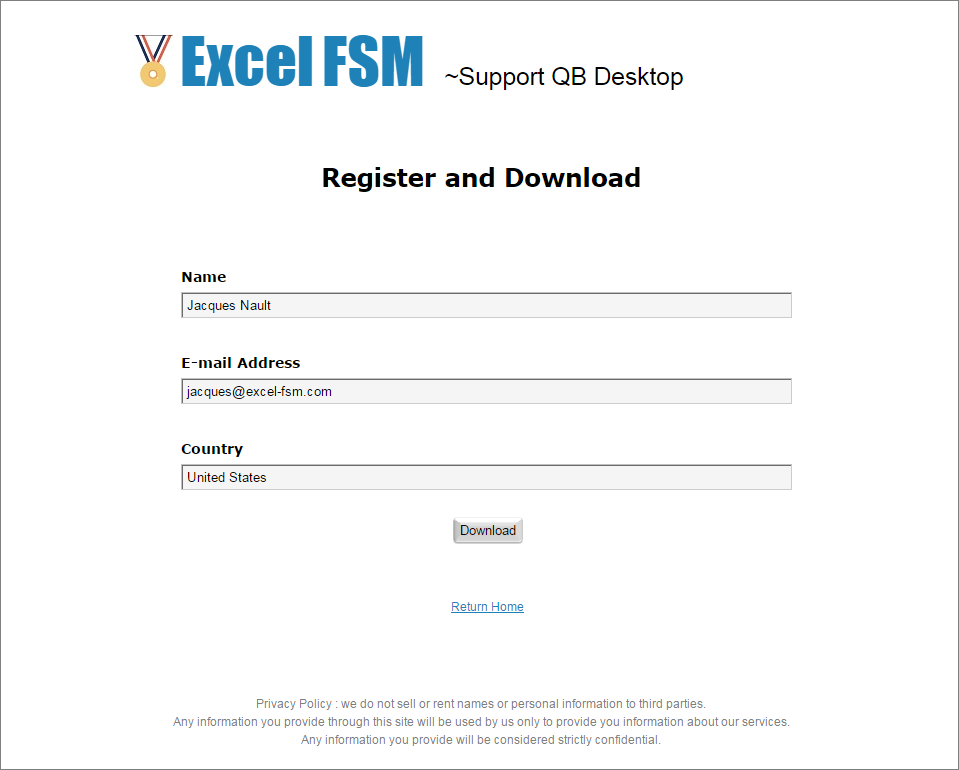
Click ‘Download’
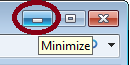
Click the ‘Minimize’ button to make sure you will see the dialogs during the installation
The following dialog is shown
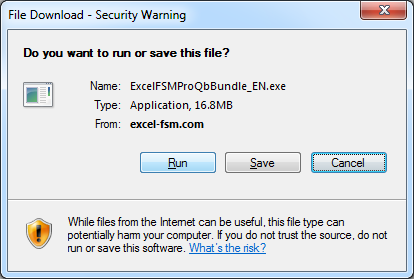
Click 'Run'
The following dialog is shown

When this process is completed, the following dialog appears
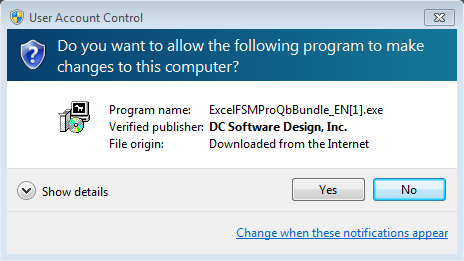
Click 'Yes'
The following dialog is shown
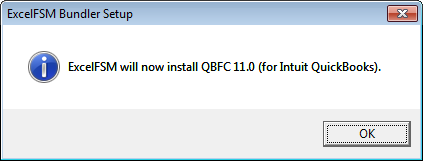
Click 'OK' to install the QuickBooks QBFC object library
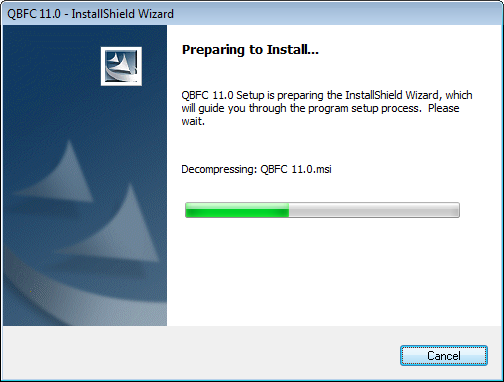
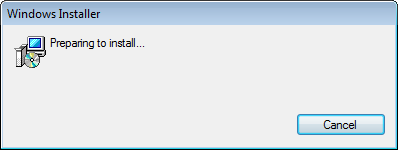
The following dialogs are shown
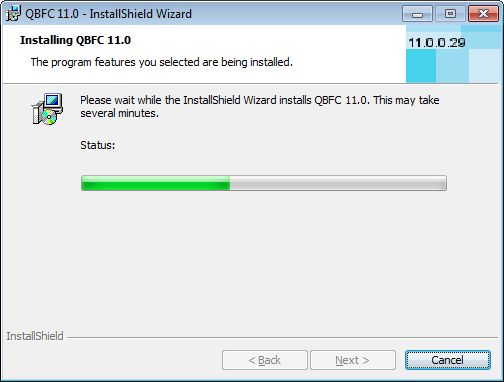
When this process is completed, the following dialog appears
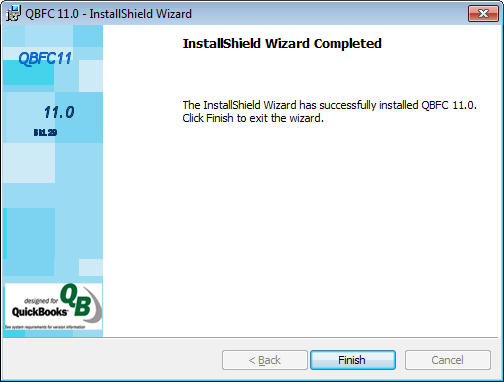
Click 'Finish'
After few seconds, the following dialog appears
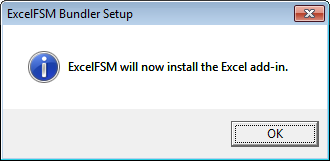
Click 'OK' to install ExcelFSM
The following dialog is shown

Click ‘Next’
Read the License Agreement
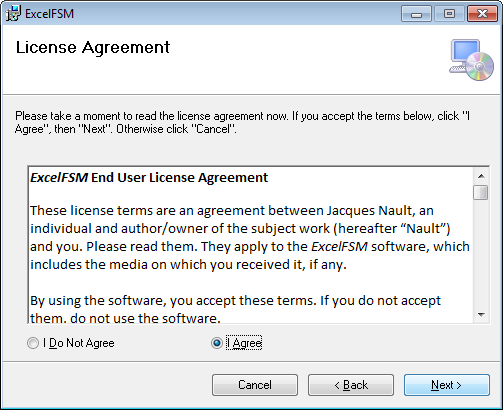
Select ‘I Agree’ and click ‘Next’ to continue the installation of ExcelFSM
The following dialog is shown
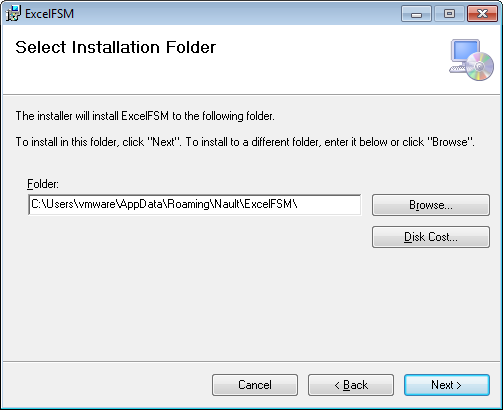
Click ‘Next’
The following dialog is shown
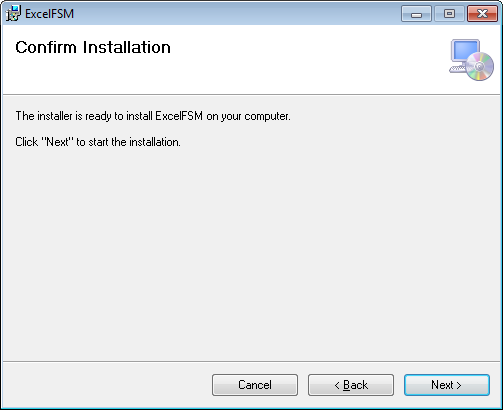
Click ‘Next’
The following dialog is shown
When the installation is completed, the following dialog appears
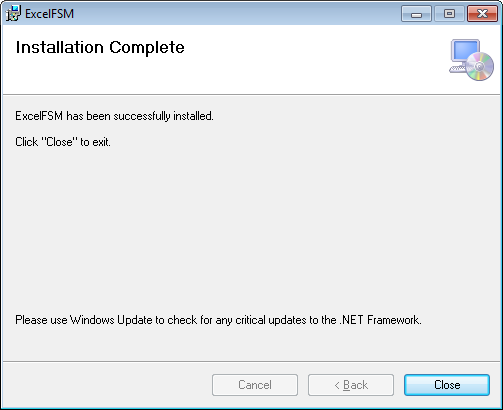
ExcelFSM having been successfully installed, you are now ready to start using it.
Click 'Close'
Starting Excel, you will see the 'FSM' tag

Click here to see tips to get started.