View, edit, re-order, and print the Chart of Accounts that is built from the read trial balance data.
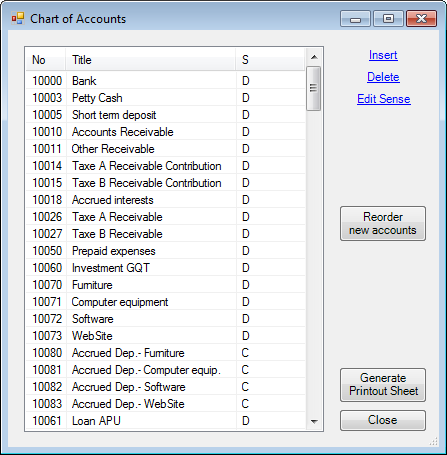
Chart of Accounts dialog.
Each account has it's Number, Title (description), and Sense (Debit or Credit) displayed.
The Chart of Accounts dialog is movable and resizable. The bigger you make the window, the more accounts are visible.
Insert - Insert a new account above the currently selected account.
1.A blank row is inserted into the list
2.Type the account number into the first column
3.Press the Tab key to fill in the Title column
4.Press the Tab key again to specify the Sense (Debit or Credit).
5.Press the Tab key a final time to finish the insertion.
Delete - Delete the currently selected account. The account will be deleted only if it has no balance, current or prior, has no adjusting entry, and is not grouped into any Items.
Edit Sense - Edit the sense of the currently selected account. Only the account's sense can be changed (not it's account number or title, as these fields uniquely identify the account in subsequent financial periods).
NOTE: The default Sense of an account is the accounting sense of the account’s balance (Debit or Credit), as read from the trial balance. The Sense of an account is used only for presentation purposes, e.g. in the Account Balance Detail dialog, it allows ExcelFSM to show whether an entry increases or decreases the balance of the account.The default Sense of an Item is the Sense of its first grouped account.
Re-ordering accounts in the Chart of Accounts
The sequence of the accounts in the Chart is of no importance to ExcelFSM. You are free to change the order for your convenience. Simply click on the account you wish to move and drag it up and down in the list with the mouse. The list will scroll as you drag near the top and bottom borders. Drop the item at the desired location. Don’t be afraid - this will not change the groupings you made for the Items of the financial reports.
HINT: Enlarge the Chart of Accounts dialog so that more accounts are visible, and it will be easier to find the desired location in the list.
Reading Trial Balance Data of succeeding financial periods, the new accounts are shown at the top of the Chart:
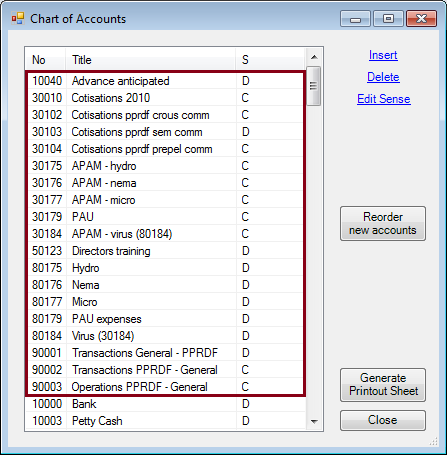
You may reorder these new accounts by dragging and dropping with the mouse or by clicking the 'Reorder new accounts' button. Clicking the 'Reorder new accounts' button will move the new accounts in the sequence they were from the previous read trial balance. A good time to do so is after you’ve grouped them into the proper financial reports Items.
NOTE: In the case where the sequence order of a new account is above or below an account that is in the Chart of Accounts but not in the read trial balance (for example new account 30184 in the demo file TB2010 and account 30183, which is in the Chart of accounts but not in TB2010), the new account will be reordered above the account that comes after the account preceding the new account in the read trial balance (30182 preceding 30184 in the read trial balance, 30184 will be moved above 30183 which comes after 30182 in the Chart of Accounts). In such particular case, simply complete the reordering of this new account by dragging and dropping with the mouse.
Generate Printout Sheet - Generate a new worksheet for the Chart of Accounts, ready to print.
Clicking the Generate Printout Sheet button displays the following dialog
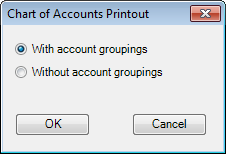
Select With or Without account groupings and click OK
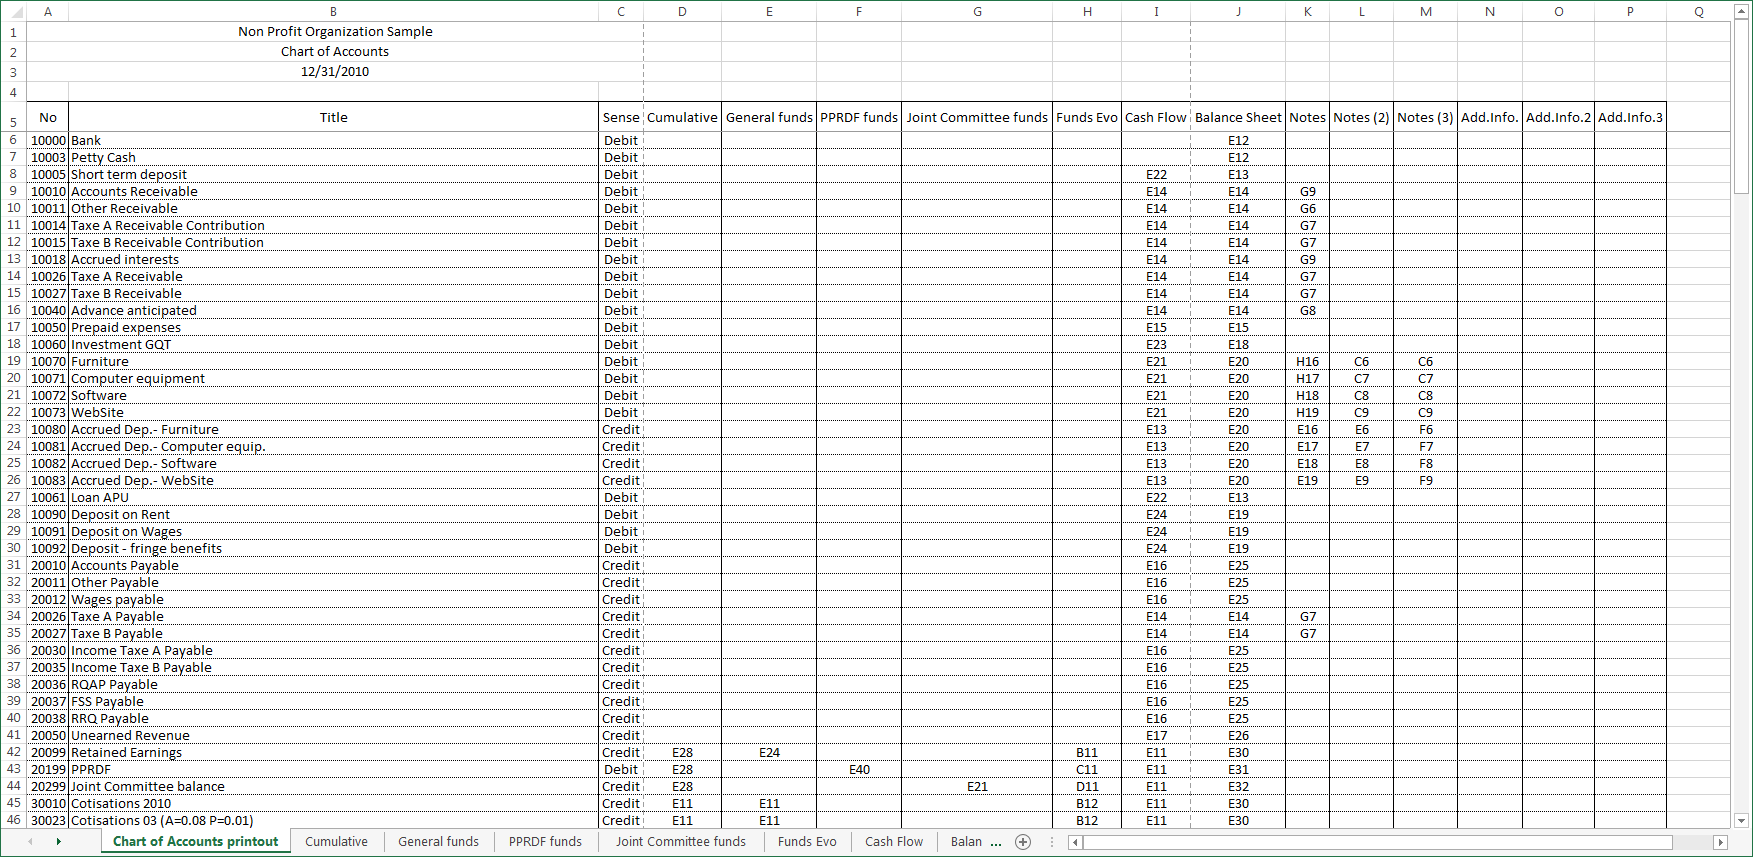
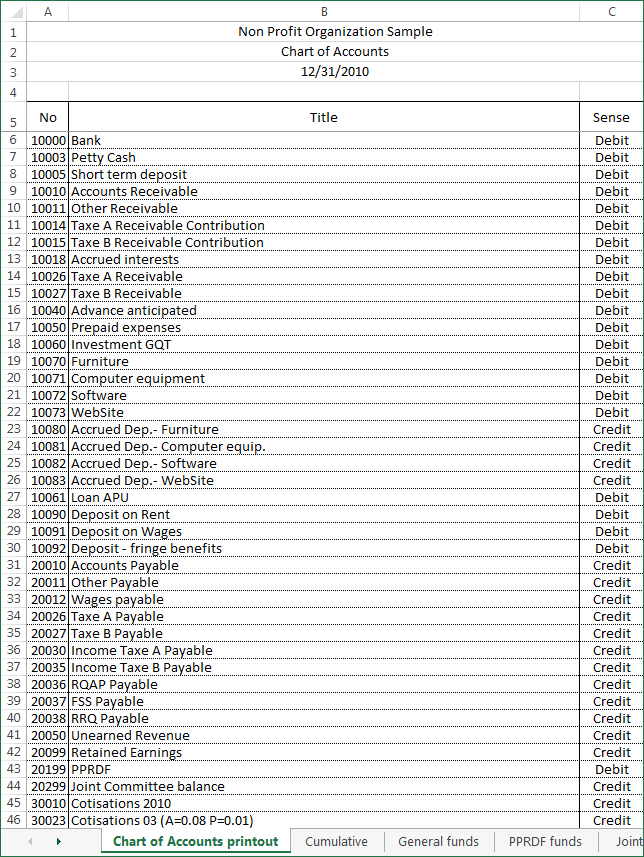
A new worksheet is created and a Chart of Accounts printout is generated:
With account groupings
Without account groupings
You can edit the worksheet before printing.
Note that editing the worksheet will not change the Chart of Accounts.
NOTE: Changes made in the chart of accounts and in the financial reports, after the generation of the printout, are not automatically reflected in the printout. Simply generate a new printout to get an updated one.
Close - Close the dialog.
NOTE: Your changes are preserved whether you dismiss the dialog by clicking either the 'X' or the Close button.
Saving the Chart of Accounts
The Chart of Accounts is automatically saved in your ExcelFSM workbook (Excel file) and is available to any worksheet in the workbook.